Help:Contents/images
Jump to navigation
Jump to search
Overall
There are two ways to do images: individually and in a gallery. Official help for both of these is in mwsite:Help:Images.
Resized Image for External Use
aka "Shrinked on-the-fly Images"
Sometimes you want to create a smaller version of an image for use on some other site (e.g. a blog post) but you don't actually need that size image anywhere on the wiki.
What you can do is edit a page, use the syntax for displaying a resized image, but don't save the changes. Any page will do, including the image's "File:" page.
- Edit the page
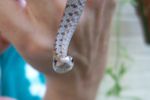
- Put in code like this: [[File:Baby Snake4.jpg|400px]]
- ...where "400px" is how wide you want the image to be. (Alternatively, you can specify height instead: [[File:Baby Snake4.jpg|x400px]])
- Preview the page (press the [Preview] button)
- Right-click the image and select "Copy image location".
- You can now discard your edits by closing the tab or navigating to some other page -- or you can change the size if it's not quite right, and preview again. (Lather, rinse, repeat.)
Your copy-buffer now contains a permanent URL for the image at that size.
Image Gallery
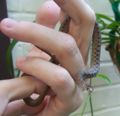
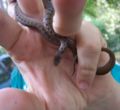
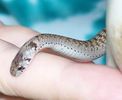
This wikicode --
- <gallery>
- File:Baby Snake1.jpg | Text to appear as a caption. This is snake #1.
- File:Baby Snake2.jpg | Text to appear as a caption. This is snake #2.
- File:Baby Snake3.jpg | Text to appear as a caption. This is snake #3.
- File:Baby Snake4.jpg | Text to appear as a caption. This is snake #4.
- </gallery>
-- produces this result:


