Help:Contents/images
Jump to navigation
Jump to search
The printable version is no longer supported and may have rendering errors. Please update your browser bookmarks and please use the default browser print function instead.
Overall
There are two ways to do images: individually and in a gallery. Official help for both of these is in mwsite:Help:Images.
Resized Image for External Use
aka "Shrinked on-the-fly Images"
Sometimes you want to create a smaller version of an image for use on some other site (e.g. a blog post) but you don't actually need that size image anywhere on the wiki.
What you can do is edit a page, use the syntax for displaying a resized image, but don't save the changes. Any page will do, including the image's "File:" page.
- Edit the page
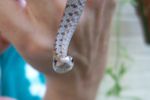
- Put in code like this: [[File:Baby Snake4.jpg|400px]]
- ...where "400px" is how wide you want the image to be. (Alternatively, you can specify height instead: [[File:Baby Snake4.jpg|x400px]])
- Preview the page (press the [Preview] button)
- Right-click the image and select "Copy image location".
- You can now discard your edits by closing the tab or navigating to some other page -- or you can change the size if it's not quite right, and preview again. (Lather, rinse, repeat.)
Your copy-buffer now contains a permanent URL for the image at that size.
Image Gallery
This wikicode --
- <gallery>
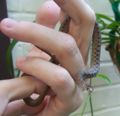
- File:Baby Snake1.jpg | Text to appear as a caption. This is snake #1.
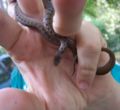
- File:Baby Snake2.jpg | Text to appear as a caption. This is snake #2.
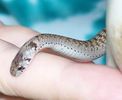
- File:Baby Snake3.jpg | Text to appear as a caption. This is snake #3.
- File:Baby Snake4.jpg | Text to appear as a caption. This is snake #4.
- </gallery>
-- produces this result:


